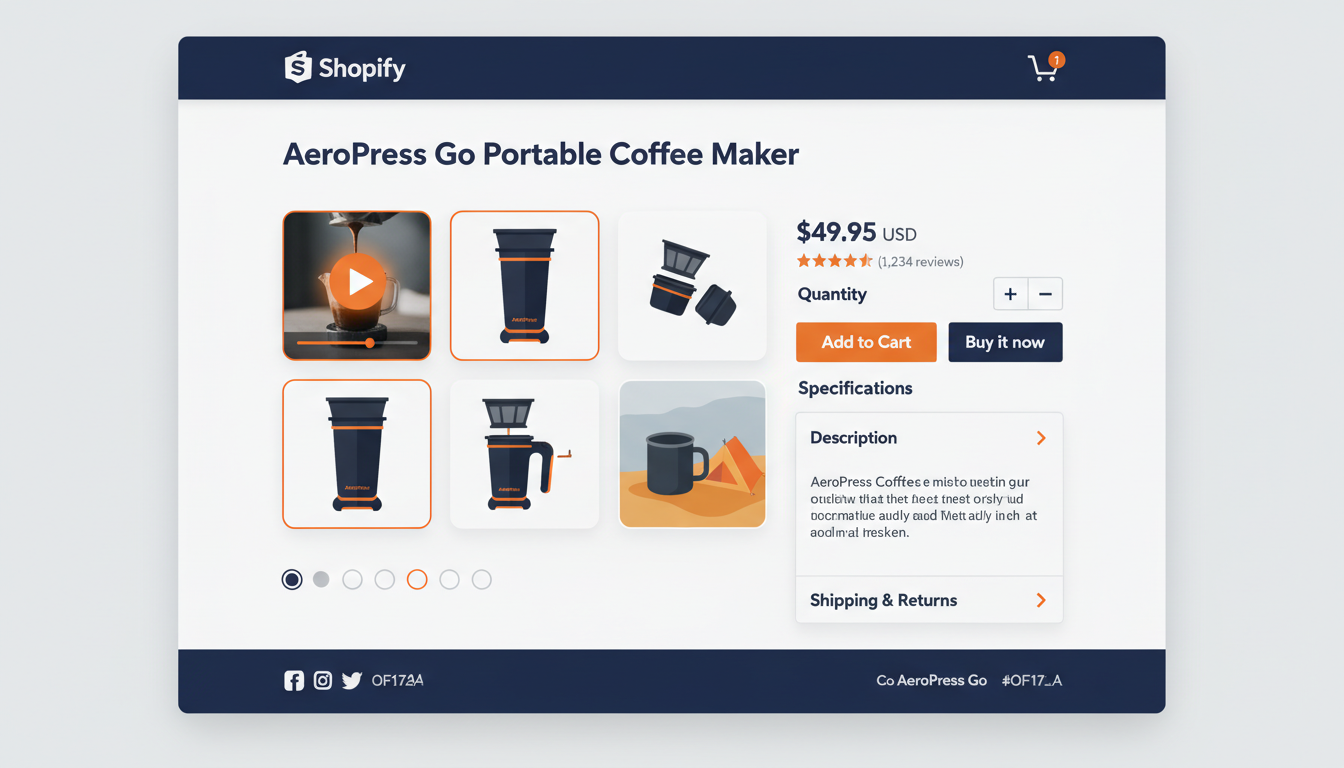
Shopify's Built-In Video Support
Shopify lets you upload video files directly to your product media gallery. You go to your product page in the Shopify admin, click Add media, and upload an MP4 file. The video appears in the product image carousel alongside your photos.
This is simple and it works, but it has some real limitations you should know about before you commit to it as your only approach.
- Format restriction: Only MP4 files are supported. If you have a video in another format, you need to convert it before uploading.
- Placement is fixed: The video only appears in the product media gallery at the top of the page. You cannot place a video in the middle of your product description where it might be more useful.
- No audio support: Shopify's native media gallery does not accept audio files. If you sell vinyl records, musical instruments, or anything where sound is the selling point, you cannot use Shopify's built-in system to let buyers hear the product.
- Minimal analytics: Shopify does not tell you how many times a specific product video was played. You know how many people visited the page, but not how many actually watched the video.
These gaps make it hard to measure whether your video efforts are paying off, and impossible to serve audio-first product categories.
The Alternative: Embed a Player in Your Product Description
Shopify's product description field accepts HTML. This means you can embed a third-party video player directly in your product description, exactly where you want it. Unlike the media gallery, which is locked to the top of the page, an embedded player goes wherever you put it in the description.
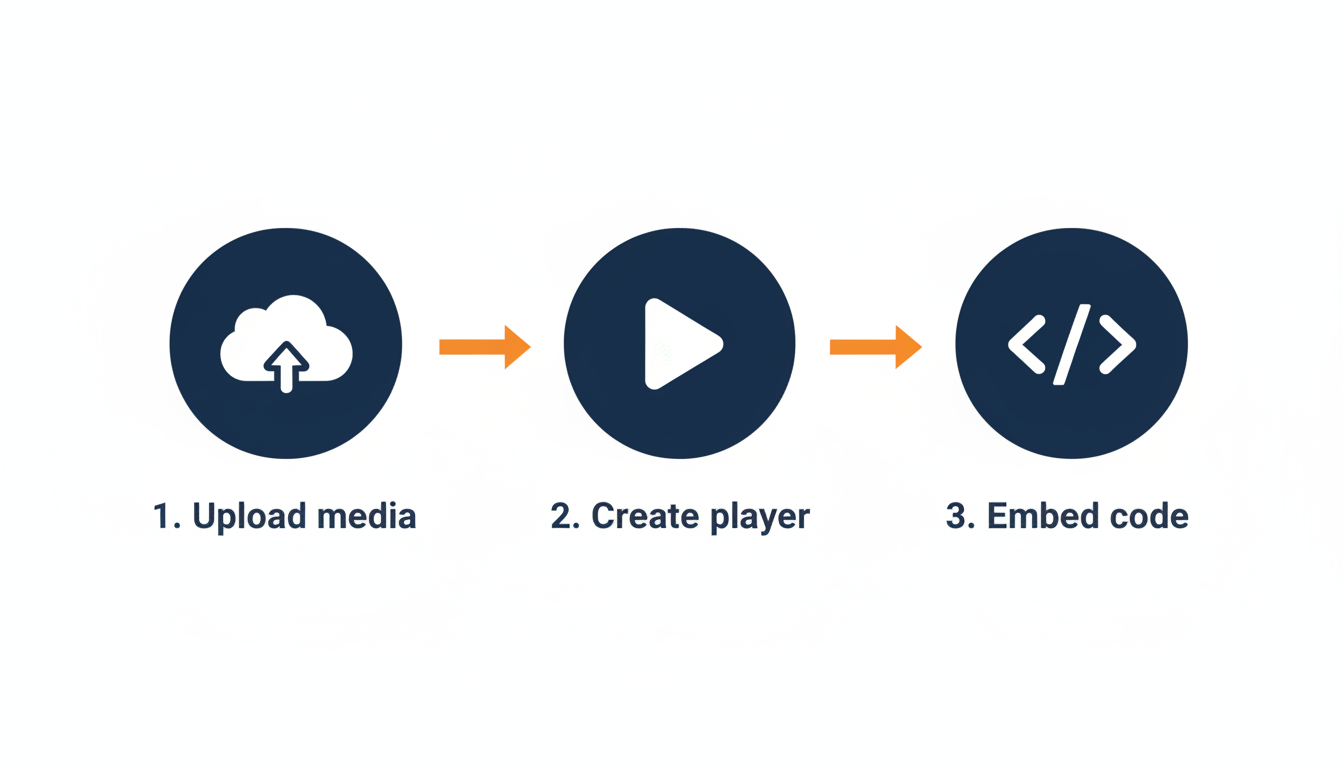
This is where eCommercePlayer comes in. The workflow is straightforward: upload your video to eCommercePlayer, create a player, copy the embed code, and paste it into your Shopify product description in the HTML editor.
The embed code is a small snippet of HTML that loads a responsive player. It adjusts to fit the width of your product page automatically, so it looks right on desktop and mobile. The video loads lazily, meaning the page is not slowed down by having video in it.
Step-by-Step: Adding eCommercePlayer Video to Shopify
Here is the process from start to finish.
- Create a free eCommercePlayer account at ecommerceplayer.com. The free plan includes 5 clips, no credit card needed.
- Upload your video or audio file. Encoding usually takes a few minutes.
- Create a player. Give it a name, add your media clip to it.
- Go to the Publish page for your player. You will see several embed code options. For Shopify, copy the Standard Embed code.
- In your Shopify admin, go to Products and select the product you want to add video to.
- In the product description editor, click the Show HTML button (the angle brackets icon).
- Paste the embed code wherever you want the video to appear in your description.
- Click Save.
That is it. Preview your product page and you will see the video player embedded right in your description. It works on desktop and mobile, plays smoothly, and does not show ads or third-party branding.
Why Embed Instead of Using Shopify's Gallery
There are several reasons to use an embedded player instead of — or in addition to — Shopify's native video support.
| Feature | Shopify Native Gallery | eCommercePlayer Embed |
|---|---|---|
| Placement control | Fixed (top of page only) | Anywhere in description |
| Audio file support | No | Yes (MP3, WAV) |
| Playlists | No | Yes |
| Play count analytics | No | Yes |
| Works on eBay too | No | Yes |
Placement control lets you decide where the video appears on the page — right after your product description, next to your sizing chart, or at the very end as a condition walkthrough. In the gallery, it is just another thumbnail in the carousel.
Audio support is critical if you sell anything where sound matters. eCommercePlayer handles MP3, WAV, and other audio formats natively, with a dedicated audio player interface. Shopify has no way to do this.
Playlists let you create multi-clip players. If you have multiple video angles or want to combine a video walkthrough with an audio demo, you can group them into a single player. Shopify's gallery treats each video as a separate media item with no grouping.
Cross-platform consistency means if you sell on Shopify and eBay, or Shopify and Etsy, you can use the same eCommercePlayer player on all of them. Upload once, embed everywhere. Shopify's native video only works on Shopify. For a deeper comparison, see eCommercePlayer vs YouTube for product listings.
Using Both Together
You do not have to choose one approach or the other. Some sellers use both: a quick product overview video in the Shopify media gallery (so it shows up in the image carousel) and a more detailed embedded player in the product description.
The gallery video catches buyers who swipe through the product images. The embedded player catches buyers who read the description. Different buyers shop differently, and having video in both places maximizes the chance that a buyer sees it.
If you sell on multiple platforms, here is a practical approach: upload your video to eCommercePlayer once. Use the standard embed code on Shopify and your own website. Use the image-link code on eBay. Optionally, also upload the MP4 to Shopify's native gallery for the image carousel. One video file covers all your sales channels.
Tips for Shopify Product Video
Keep videos under 90 seconds. Shopify buyers are browsing. They want to see the product quickly and make a decision. Long videos get abandoned.
Put the embedded player near the top of your description, not buried at the bottom. Many buyers do not scroll to the end. If the video is important enough to make, it is important enough to be visible.
Use a clean thumbnail. Whether it is auto-generated or custom, the thumbnail is the first impression of your video. A dark, blurry, or confusing thumbnail will not get clicks.
Shoot in landscape. Shopify product pages display video in a widescreen format. Vertical video will have black bars on the sides and look out of place.
If you sell products where sound matters, do not overlook audio. A 30-second clip of a record playing, an instrument being strummed, or a mechanical watch ticking can be more convincing than any photo. eCommercePlayer's free plan is a zero-risk way to try it. For more ideas on making effective product video, see product video tips for eBay sellers in 2026 — the same principles apply to Shopify.
Test your product page on a phone after adding video. Over half of your Shopify traffic is mobile. Make sure the player looks right, the thumbnail is clear, and the video loads and plays without issues. This quick check takes 30 seconds and catches problems before buyers find them.
If you also sell on Etsy, see how to add video and audio to your Etsy listings.
Related Articles
Ready to add media to your listings?
Create your free account in under a minute. No credit card required.